Metal Surface Finishing is rarely improved by polishing alone. A durable, attractive result starts with matching the process to the metal, its condition, and the part’s intended use. Small details matter. A fingerprint left before coating can become a visible mark, while an overly aggressive abrasive may soften an edge or leave deep scratches. Even a smooth-looking part can hide residue in a corner or around a drilled hole. Those details are easy to miss when work moves quickly.
These seven practical tips focus on steps that make a measurable difference: cleaning thoroughly, choosing suitable abrasives, deburring edges, preventing contamination, and checking the surface before applying a finish. They also consider coating compatibility and consistent working conditions. A clean cloth, good lighting, and a simple inspection routine can reveal problems before they become costly rework. It is tempting to blame the coating; sometimes the preparation was simply rushed. Not every metal or finish responds the same way, so test an unfamiliar method on a sample when possible. Keep brief notes on materials, products, and results. That record helps explain what worked, and what did not. The best finish is not always the glossiest one. It is the finish that suits the part, holds up in use, and can be produced reliably.
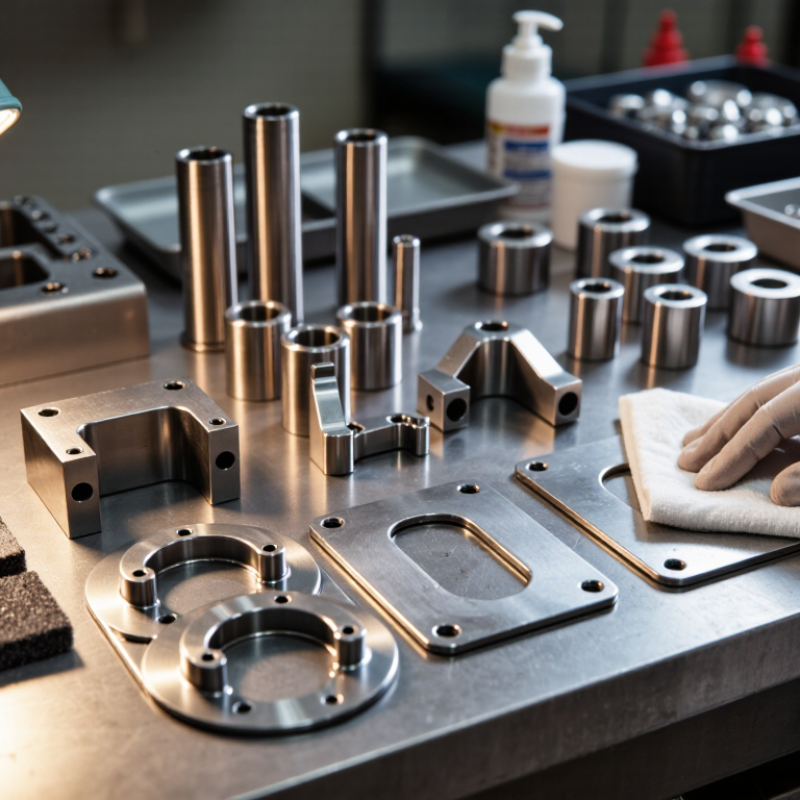
Identify the alloy before choosing a finishing route. Aluminum, stainless steel, and carbon steel react differently to abrasion, chemicals, and heat. Check mill certificates, part markings, and incoming inspection records. X-ray fluorescence can confirm many alloying elements, but it does not measure carbon reliably. Carbon-sensitive grades need traceable records or a suitable laboratory method. Small mix-ups matter: the same abrasive treatment can leave one alloy clean and another visibly damaged.
Tip: Define “better” in measurable terms before processing. Specify roughness, such as Ra, plus gloss, coating thickness, or a visual acceptance standard. State the service environment too: indoor handling differs from salt spray or frequent washdowns. A drawing that says “smooth” leaves too much open to interpretation.
NACE International’s 2016 IMPACT study estimated corrosion costs at $2.5 trillion globally, or 3.4% of world GDP. That figure shows why finish requirements deserve careful thought, but it does not prescribe a process for every part. Match the finish to the alloy and exposure, then test a sample. A polished appearance alone may hide poor adhesion or an unsuitable surface profile. I would also record the inspection method; teams sometimes overlook that detail.
7 Metal Surface Finishing Tips for Better Results
Degrease First; SSPC-SP 10 Allows Staining on No More Than 5% of Each Area
Oil and salts can hide beneath dust, then interfere with coating adhesion. Degrease before abrasive blasting, and use a clean cloth to check edges, bolt holes, and weld toes. A surface may look ready while a faint oily film remains. It happens.
The NACE IMPACT study estimated global corrosion costs at US$2.5 trillion annually, or 3.4% of global GDP. Sound surface preparation helps protect coating performance, though it cannot prevent every failure. After blasting, compare the steel with the specified visual reference under steady lighting. SSPC-SP 10/NACE No. 2 permits staining on no more than 5% of each unit area; the remaining surface must show the required near-white appearance. Check small areas closely. A quick glance can miss streaks beside welds. Record borderline spots and ask the coating inspector to assess them rather than assuming they pass. Standards guide judgment, but lighting, surface geometry, and viewing angle can make inspection less straightforward than the specification suggests.
| # | Finishing tip | Recommended practice | Quality check / useful reference |
|---|---|---|---|
| 1 | Degrease before blasting | Remove oil, grease, and other visible contaminants before abrasive blasting. Use a cleaning method suitable for the metal and coating process; blasting over oily contamination can spread it across the surface. | SSPC-SP 1 covers solvent cleaning. Check for visible contamination and repeat cleaning where needed before proceeding. |
| 2 | Select suitable abrasive | Choose abrasive type, size, and condition to suit the substrate, required cleanliness, and coating specification. Keep the abrasive free of oil and other contaminants. | Confirm the abrasive and blasting method against the project specification; there is no single abrasive that is right for every metal or coating. |
| 3 | Meet the specified surface profile | Create a surface texture appropriate for the coating. The required profile depends on the coating system and should come from the project specification or coating manufacturer’s instructions. | Measure using a suitable method, such as a replica tape or an approved surface-profile comparator, and record results against the specified range. |
| 4 | Check compressed air | Verify that air used for blasting or blow-down is not introducing oil or water onto the prepared surface. Maintain air filters and separators. | ASTM D4285 describes a blotter test for indicating oil or water in compressed air. Perform checks at the point of use as required by the job specification. |
| 5 | Remove dust and check soluble salts | After blasting, remove loose dust using an approved method. Test for soluble salts when required, especially where exposure or process history makes contamination a concern. | ISO 8502-3 addresses assessment of dust on blast-cleaned surfaces; ISO 8502-6 and ISO 8502-9 cover extraction and field assessment of water-soluble salts. |
| 6 | Inspect cleanliness to the specified grade | Compare the prepared surface with the cleanliness grade required by the job, using the applicable written standard and visual reference where specified. | SSPC-SP 10/NACE No. 2 (Near-White Metal Blast Cleaning) allows staining on no more than 5% of each 9 in² (about 58 cm²) unit area. Permitted staining is limited to light shadows, slight streaks, or slight discolorations as defined by the standard. |
| 7 | Apply coating under suitable conditions | Keep the prepared surface clean and dry, and apply the coating within the time and environmental limits specified for the coating system. Watch for condensation and flash rust. | Record ambient temperature, steel temperature, and relative humidity where required. Follow the coating specification for dew-point margin and maximum time before coating; limits are system- and project-dependent. |
Note: Project requirements and the applicable editions of referenced standards take precedence over general guidance.
7 Metal Surface Finishing Tips for Better Results
Choose Blast Profile: ISO 8503 Grades Span 25–150 μm
A blasted surface needs a profile suited to its coating, not simply the roughest texture available. ISO 8503 comparators help classify blast-cleaned profiles across grades spanning roughly 25–150 μm. This measurement describes surface texture, not coating thickness. A finer profile may suit a thin coating, while thicker protective systems may require a deeper anchor pattern. Check the coating specification before blasting. Small details matter.
Tips: Begin with the specified grade, then check representative areas using an ISO 8503 comparator or suitable profile instrument. Take several readings, including near welds and edges; one reading can mislead. Keep nozzle angle and distance consistent. Remove dust and salts before coating, even if the surface looks clean.
Do not treat the full 25–150 μm range as a universal target. The right profile depends on the substrate, coating system, exposure, and measurement method. A common oversight is focusing on average readings while missing sharp peaks, which can leave thin coating coverage. That is easy to miss. If results vary widely, inspect the blasting setup before increasing pressure. An even, controlled texture is usually more useful than an aggressively rough one.
Begin with an abrasive coarse enough to remove scale or machining marks, but not so aggressive that it creates deep scratches. Move through finer grits in stages, cleaning the part and abrasive between steps. Change sanding direction with each grit. This makes leftover scratches easier to spot under a bright, angled work light. A polished surface can still hide defects.
After grinding, polish with a clean, suitable compound and light, even pressure. Heat can distort thin parts or smear softer metals, so pause if the surface becomes warm. Results are not always tidy; one missed scratch may mean repeating part of the sequence. That is frustrating, but polishing harder usually is not the fix.
Use a profilometer to measure Ra and Rz, rather than judging finish by reflection alone. Ra describes average profile deviation, while Rz captures profile height using the definition and evaluation procedure specified by the standard. ISO 21920 sets out how profile texture is specified and assessed. Keep the measurement conditions consistent: record the filter or nesting index, evaluation length, instrument settings, and measurement direction. Check the instrument with an appropriate reference before comparing parts. Take readings at several representative locations, especially where tool marks change direction. One number can miss a local defect. If readings vary widely, inspect the setup and surface again; the measurement may need a second look.
A coating can look even and still miss the job’s dry-film thickness requirement. Use the coating system named in the specification; a similar product may behave differently or fail the stated standard. Check the product data sheet for application limits, recommended thickness, and cure conditions. Surface temperature, humidity, and airflow can all affect how the film forms. Small details matter.
Measure, don’t guess. After the coating has cured as required, use a suitable, verified thickness gauge and follow the project’s measurement procedure. Take readings at several locations, including flat areas and tricky edges or corners. Geometry can affect results, so one reading is not enough. Compare each result with the job’s acceptance criteria, rather than relying on a reassuring average. A smooth finish is imperfect evidence. If a reading falls short, record the location and consult the specification before applying more coating. Extra thickness is not automatically better; it can cause its own problems. Keep the readings, instrument details, and inspection date with the job record. These notes make later checks clearer, especially when the surface looks fine but the numbers tell another story.


